
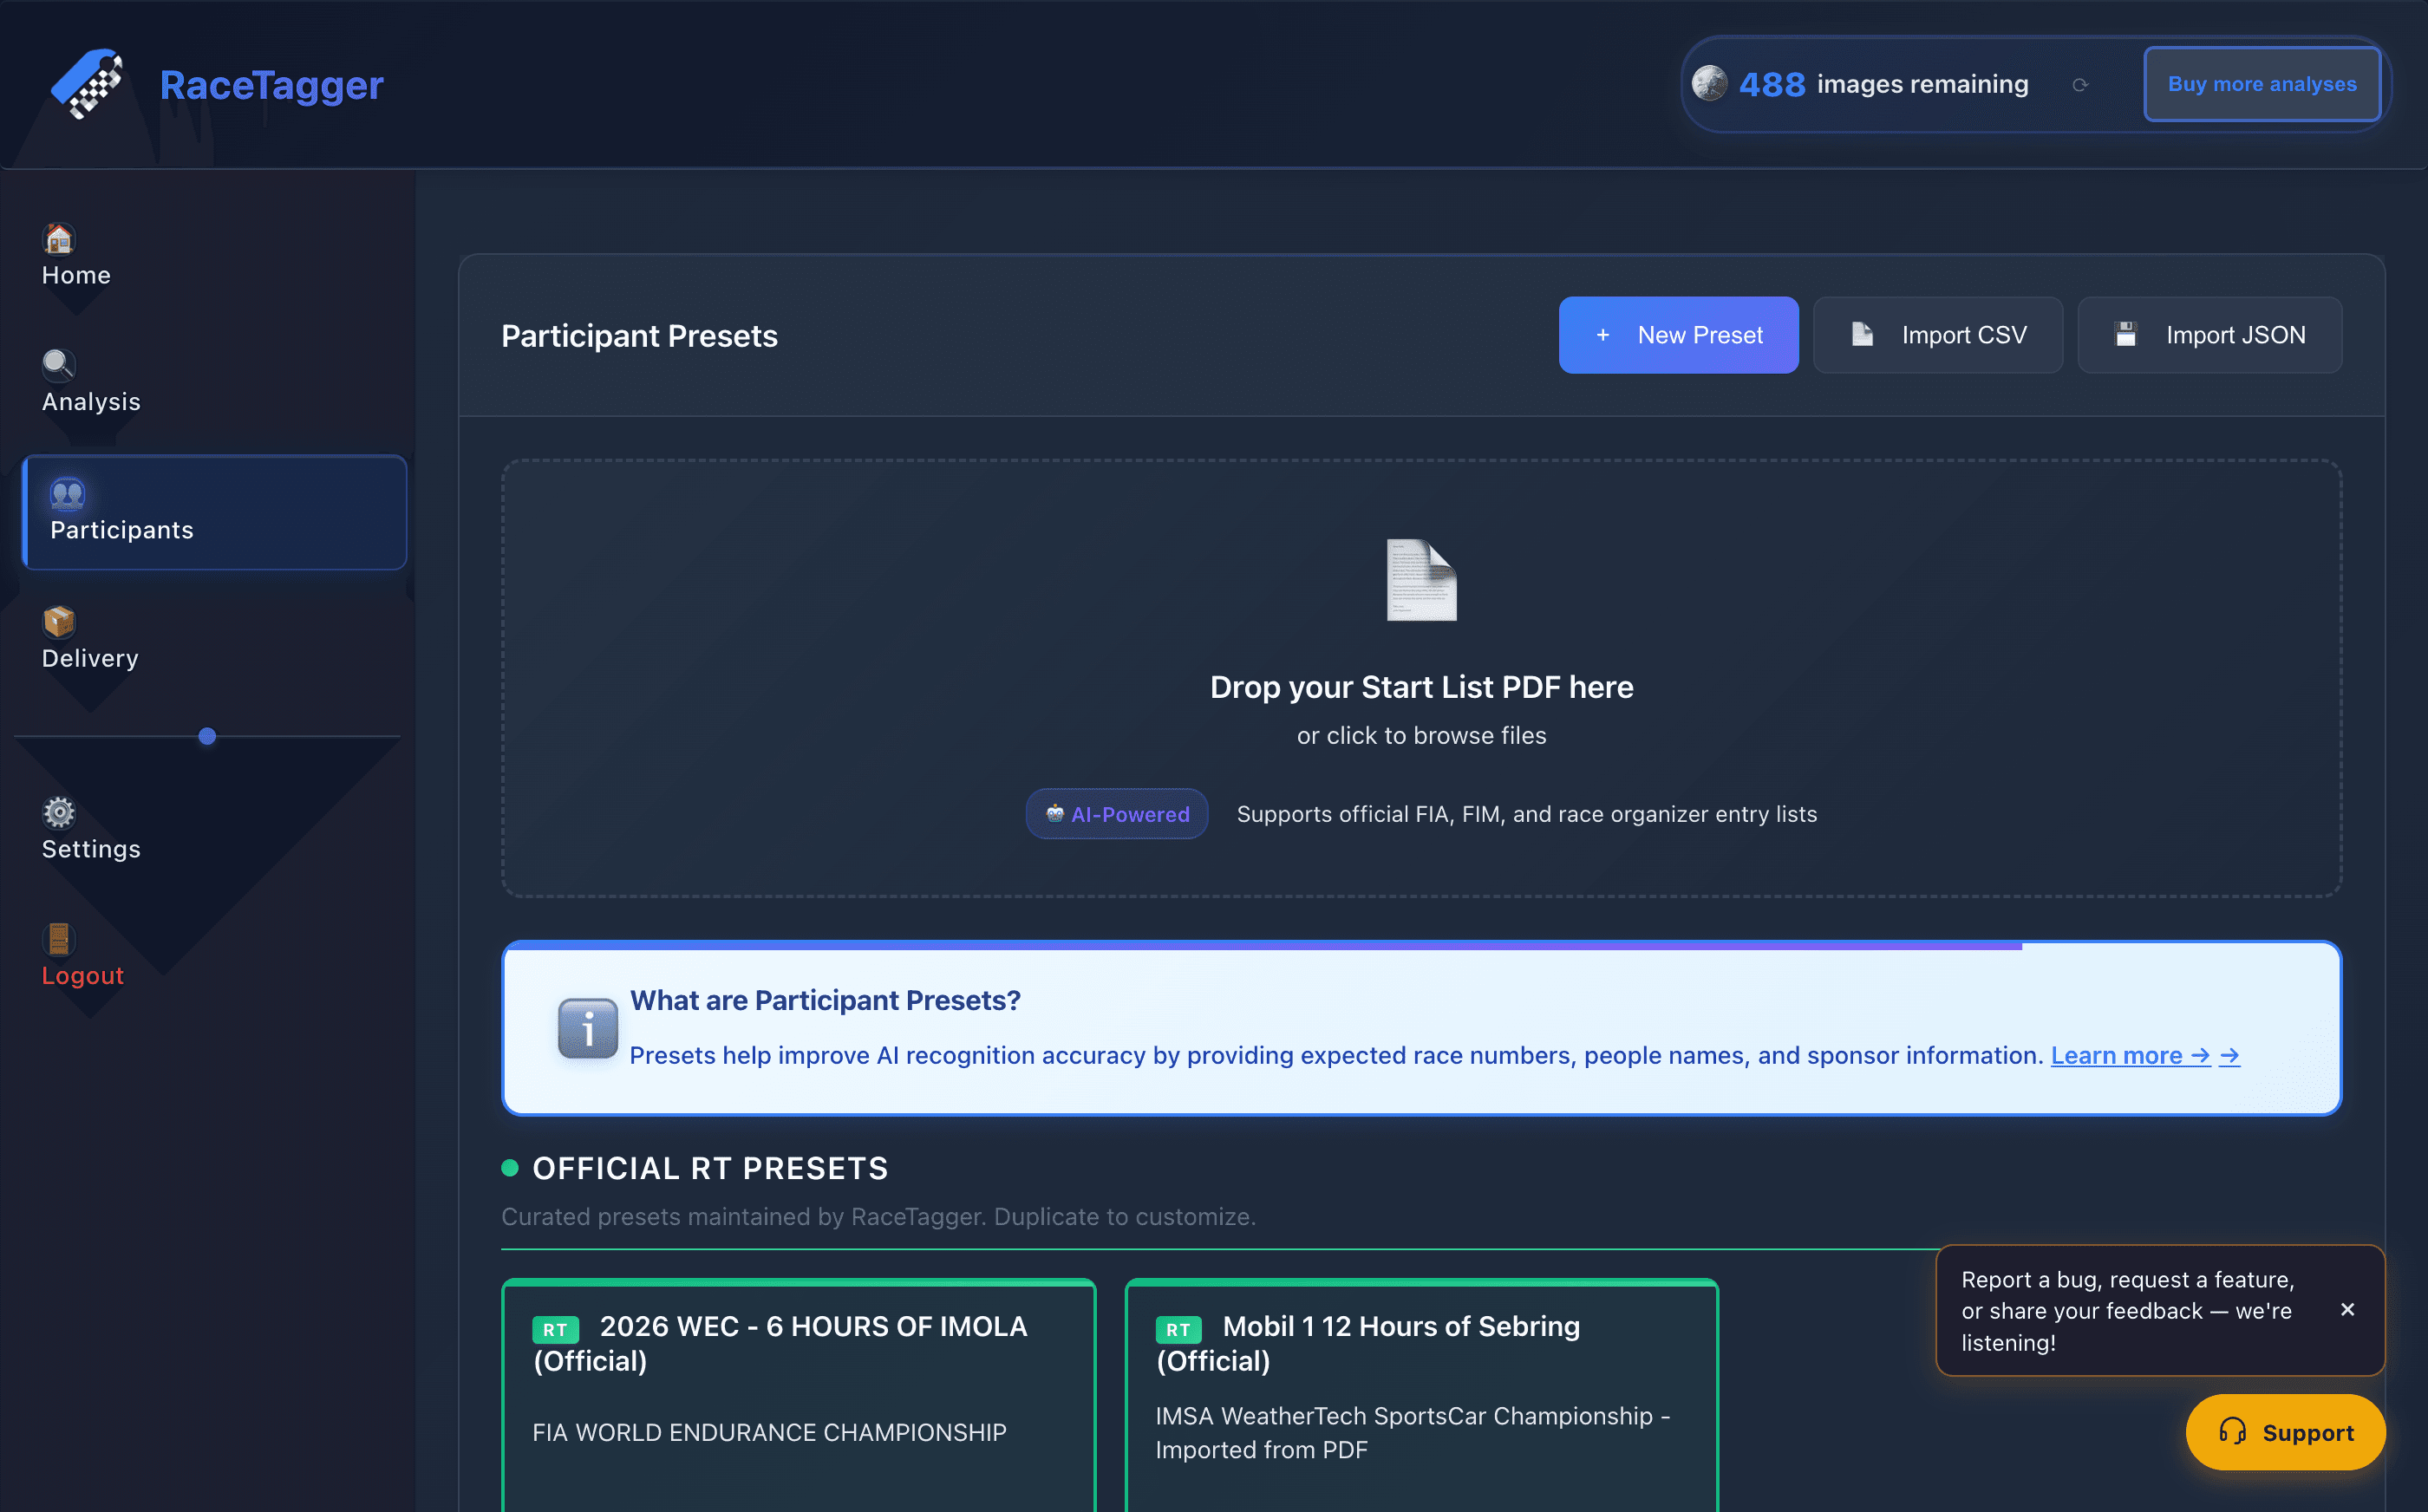
Participant Presets
Once the AI detects a race number, participant presets let RaceTagger automatically match it to a name, team, and other info. This data gets embedded in photo metadata and folder names, making your post-processing workflow faster and more accurate.
A participant preset is the roster for one event: one row per race number (or per person, for entries with no number — a team principal, a VIP, a mechanic), each with a Person/People, Category, Team, Car/Vehicle Model, and other fields. When an analysis runs with a preset selected, RaceTagger matches the numbers it detects against that roster and enriches the result with the participant's data — used for IPTC metadata and for folder/file organization. A preset can also carry custom folder assignments and an IPTC caption template, and be duplicated, exported or shared.
How to use it
- 1Open Participants in the sidebar: Existing presets are listed as cards; official RaceTagger presets (badge RT) appear in their own "Official RT Presets" group.
- 2Click New Preset: Give it a name (and optional description), pick a sport category, then add participants — either typed one by one or imported (CSV/PDF; see csv-and-pdf-import).
- 3To add or edit one participant, open the row to get the participant editor: Its fields are grouped by where they end up: - Written to the file / used for AI: Race Number, People (tag input — one or more names, e.g. co-drivers; required unless the row has a number), Category, Team, Car / Vehicle Model, Meta Tag (goes to IPTC Caption/Description). - AI matching only, never written to the file: Sponsors (unique identifiers on that specific car), Plate Number. - Folders — custom destination folders for this participant, plus an "Also export to the default folder" toggle (see preset-folders-and-destinations). - Delivery to — assigns the participant to a delivery client, where that feature is configured. Save with Save Changes. When editing an existing row (not when adding a new one), Save & Next / Save & Previous save the row and open the next/previous one in the table's current visible order (respecting your sort/filter), so you can walk the whole roster without reopening it from the table each time; the buttons disable themselves at the first/last visible row.
- 4Use the Columns button above the participant table to show or hide Person, Category, Team, Car and Plate (Num is…: always shown). The choice is saved per device and applies to every preset you open.
- 5Duplicate: any preset (your own, or an official/public one) to get a personal, editable copy — official and public presets open read-only, with Duplicate & Customize in place of Save. Delete removes a preset you own, with a confirmation.
- 6To use a preset in an analysis, open the Participant Preset dropdown on the Analysis page and pick it (or leave it on…: "Enhance Recognition Accuracy" to run without one).
Limits and known behaviour
- A number-only match against the preset is still recorded and tagged even with no roster entry for it — you just don't get the enrichment. Missing entries can be added anytime.
- Official and public presets (
is_official, oris_publicwith no owner) are read-only in the editor — you can view or duplicate them, not edit or delete them directly. - The Columns show/hide choice is a per-device viewing preference, not part of the preset itself — it's the same across every preset you open on that machine.
- CSV/PDF import, folder destinations, and multi-pilot IPTC caption templates are covered on
their own pages (
csv-and-pdf-import,preset-folders-and-destinations,multi-pilot-captions), not here.